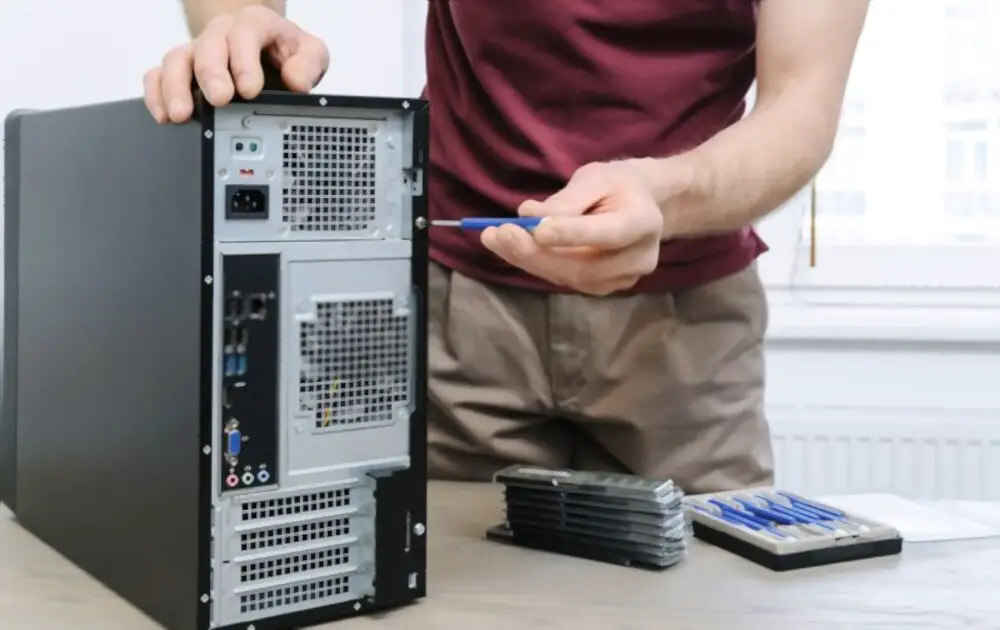
It might look like a simple task but not everyone knows how to safely open a PC case for assembling, disassembling, or cleaning the dust residing inside it. Modern-day PC cases are easy to open as most of them come up with a side panel that slides on one side. But before opening a chassis, you should take some precautions to avoid any breakage.
I’ve written this detailed guide that lists some of the most effective practices to follow while opening a PC case at your home, lab, or shop.
Before You Start
Before you open your PC chassis, make sure you place it on a non-metallic surface. It’s better if you wear anti-static gloves to prevent any damage to your hardware as a result of static electricity discharges.
Remove any power cables connected to your power supply source. Now remove the screws that hold the side panel with the rest of the case. Now finally, remove the side panel.
How to Safely Open A PC Chassis
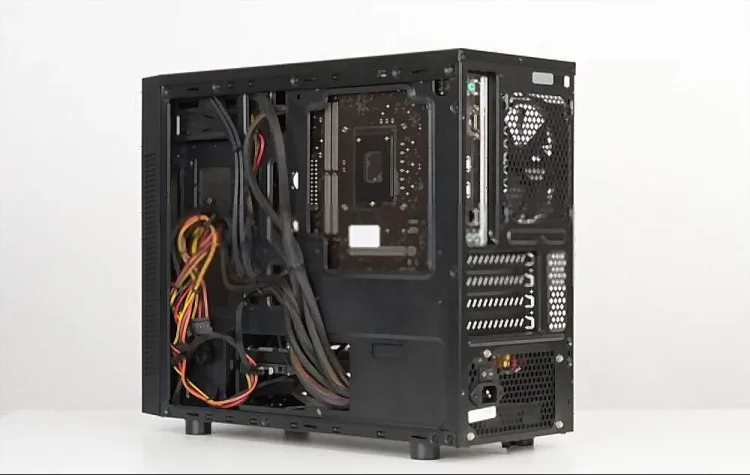
Every PC case is made differently, some have a side glass panel to get access to the internal hardware whereas others require you to completely remove the top shell. No matter which chassis brand you have, all PC cases are held to the main bone with the help of screws at the backside.
1- Shutdown Your Computer
The first and most important step is to completely turn off your computer. There are many ways to do this, you can simply shut it down from Windows or you can simply hit the power button on your case.

Some PCs also have a power switch at the back of the case right next to the power supply. If your power supply comes with a separate power button, then make sure that’s turned off as well.
2- Remove the Power Cables
Even when you turn off or shut down the computer, the power cables attached to the power supply do have current in them. I have experienced this many times where I forgot to remove the power cable and felt the shock my touching the chassis.
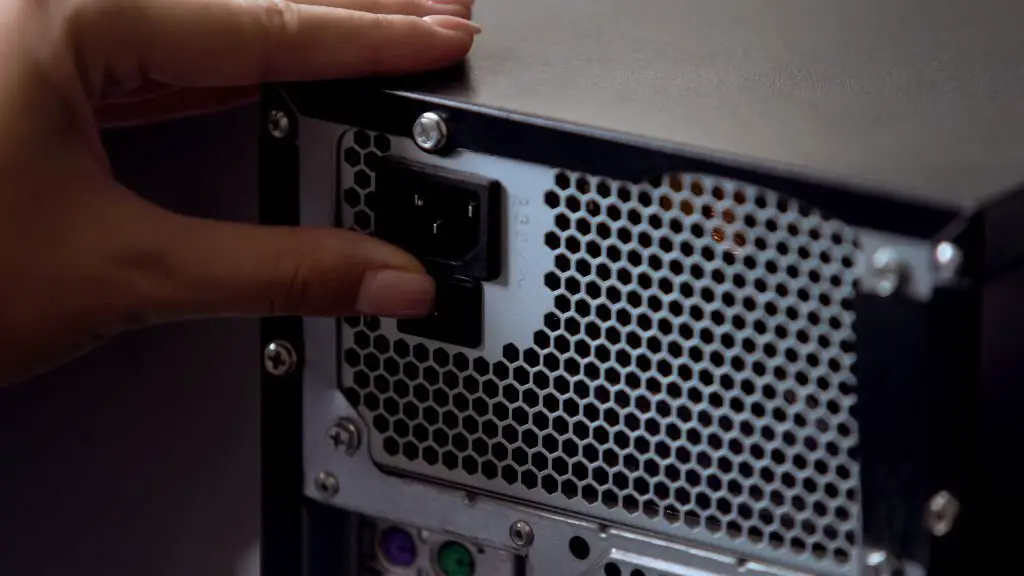
In most scenarios, there’s only a single power cable coming from the power outlet toward your power supply. However, if you have more than one power cable connected to your PSU, make sure you remove all of them.
3- Remove All Hardware Cables
Once you have taken out the power cables, it’s time to disconnect all the other hardware like the mouse, keyboard, VGA, Ethernet, or any other USB cable.
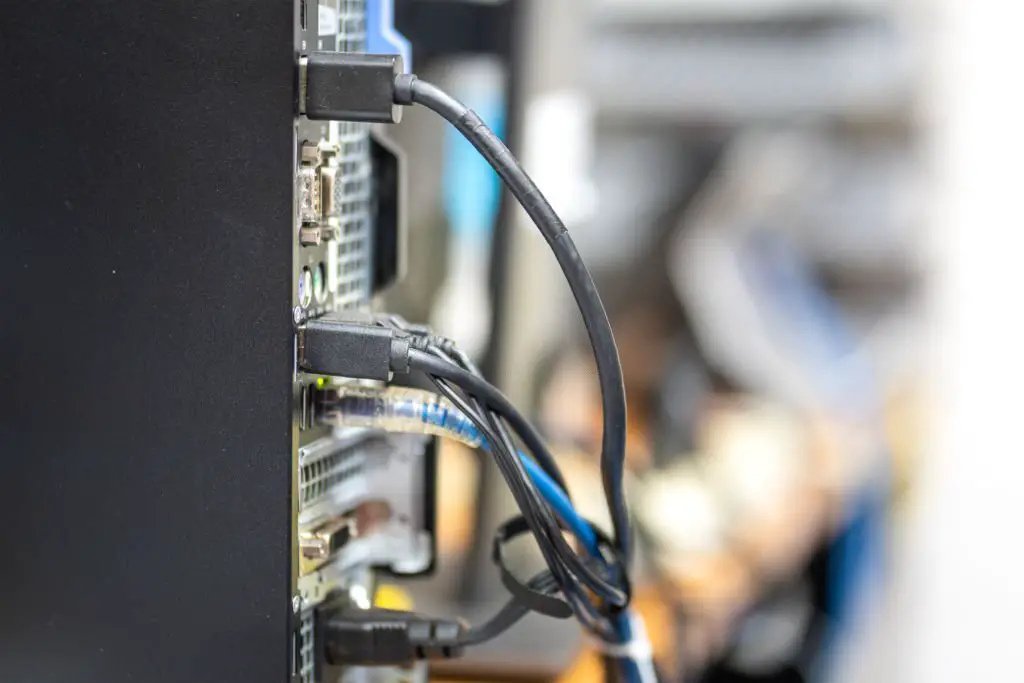
Some cables are easy to pull out like USB, mouse, or keyboard cables. But some cables like VGA, DVI, or Ethernet cables have a special releasing mechanism that you need to follow. Don’t hurry and patiently remove all the cables to avoid any damage to the pins or I/O panel itself.
4- Unscrew the Side Panel
Once you have successfully removed all the hardware cables from your case, it’s time to unscrew the side panel. There are at least 2 screws at the end of a PC case that tightly hold the side panel with the main bone of the chassis.
You’ll probably need a Phillips-head screwdriver to retain the screws. Make sure to go through our best screwdriver set for PC building guide in this regard.
Some PC cases come with a side panel swing design with no screws at all. This design uses a magnetic suction to open or close the side panel. See the image below for a better understanding.
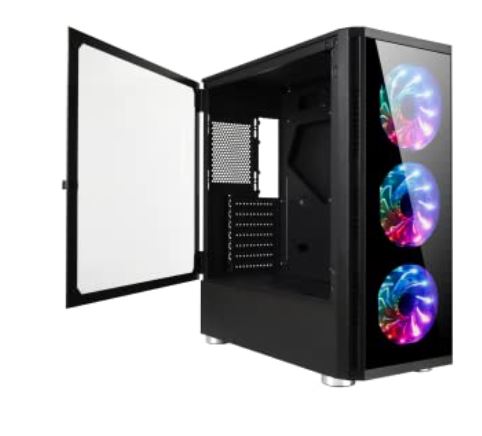
If you have a PC case with the above-shown design, then there’s no need to remove the screws at all.
Make sure you don’t lose or remove the screws holding your power supply with the chassis. Loosening or removing screws may cause the power supply to fall on the hardware causing any damage.
5- Removing the Side Panel
Now you can easily lift off or slide the side panel at one side. Some PC chassis brands have a slide-lock mechanism whereas others require you to lift the side panel at one side to open the case.
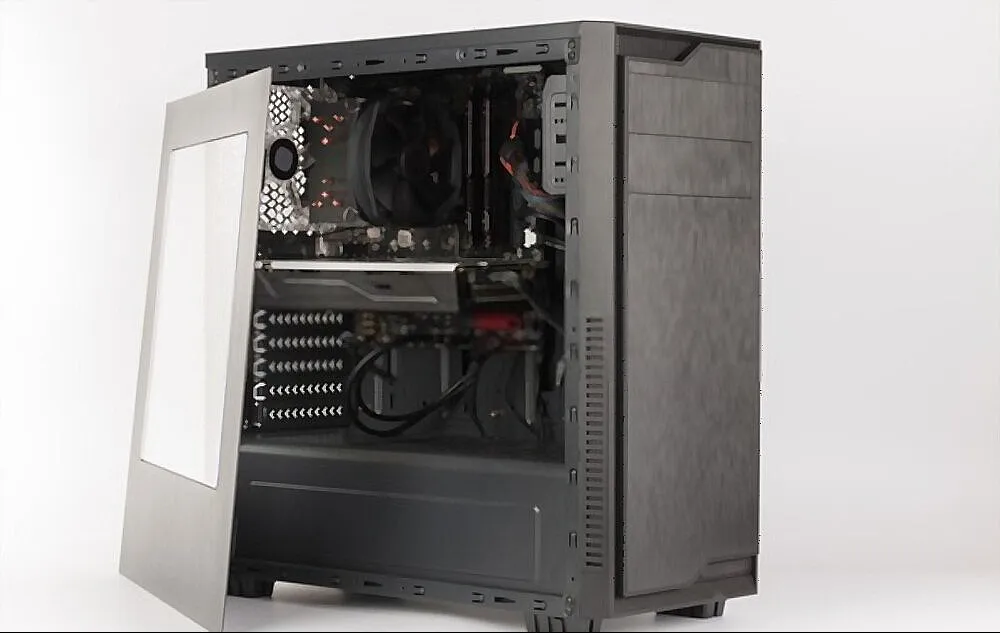
Before opening the side panel, push it on the opposite side by applying a gentle force. Most of the time, the side panel will disengage from the lock mechanism and will pop out on its own.
How To Put Back the Side Panel?
I remember the time when I had a PC case with a loose side panel on it. Most of the time, it was too hard for me to put it back once I open my PC case.
The process of putting back the side panel is fairly simple. Just lay down your case with the side panel side facing your roof. Now, align the panel with the shape of the case and slide it in until you hear a locking noise.
Most of the time the corners of the side panel will coincide with the sides of the front of your case. Once the panel sits firmly on the case, mount the screws and you are done.
FAQs
Is it better to open the PC case for airflow?
No, opening the case won’t result in increased airflow. Rather than this, you should opt for a computer case with high airflow dynamics. A closed computer case is better at directing the airflow while sucking the hot air outside the case.
Can I open the PC case with it on?
You can open the case while your system, but it’s not recommended at all. Like we’ve said earlier, while the power cables are connected to your PC case and it’s turned on, there are higher chances of static electrical charges if you try to open your case with bare hands.

Hi, this is Masab, the Founder of PC Building Lab. I’m a PC enthusiast who loves to share the prior knowledge and experience that I have with computers. Well, troubleshooting computers is in my DNA, what else I could say….
1 thought on “How to Open a PC Case Safely (Step-by-Step Guide)”