New PC Build No Display
The fear runs through your spine as soon as you turn on your new PC and there’s no display. A lot of things might come to might pop up in your mind like faulty hardware, wrong assembly, etc. But there’s nothing to worry about if your new PC build outputs no display at all.
You might come across no display issues when you are new to the PC building. I remember the time I built my first Pentium II PC from scratch. At that time, I forgot to properly seat my graphics card on the PCIe x16 slot. So, I had to disassemble and reassemble every part to fix that issue.
Generally, no video output for a newly built PC could be due to many reasons. Maybe you are using incompatible PC parts or maybe your monitor is not working properly. In some cases, it could be the weaker connection between your RAM and motherboard. We’ll go through all of the known causes and then find out the relevant solution for each of them.
How to Fix New PC Build But No Display
So here are some simple steps that you can follow to troubleshoot this problem:
Monitor Connection
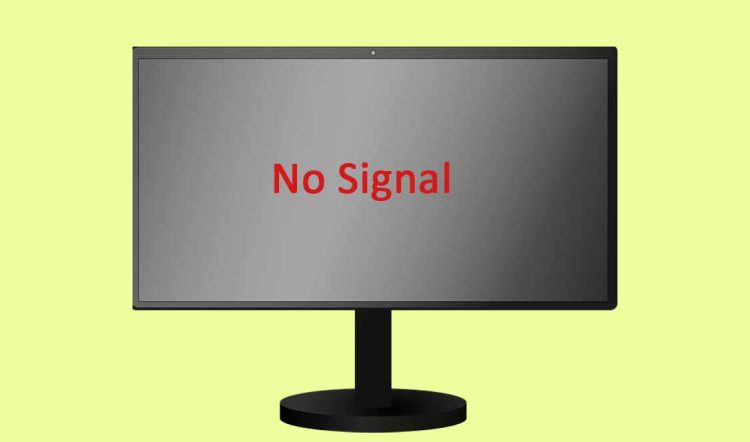
Sometimes a poor connection between your video output and monitor cable could result in no display at all. A monitor can be connected to your system by means of VGA, HDMI, DisplayPort, or DVI port.

Find out which one of the above video output your graphics card supports, and then try a plugin in the monitor in that relevant port.
Sometimes, a new motherboard or graphics card can show up with a bad video output port. So try to plug in your monitor in a different video port and see if that helps.
In some cases, an old or worn-out monitor cable could result in no display on your monitor. If you are using an old monitor, then chances are that the monitor power cable has given up and needs to be replaced with a new one.
Check Your RAM
In many scenarios, the real culprit behind no video out is your physical memory. Sometimes, the DIMMs are not properly seated on the motherboard or have been fixed there for a longer time.
Your computer can also notify you of this issue by triggering the orange light on your motherboard, this also means that there’s something wrong with your RAM.
My local computer store guy used to say that they catch up with the carbon, so you have to change their place once a year 🙂
To reseat the RAM, switch off your PC and take out the power cord connected to the power supply.
Let’s say are two RAM sticks and four RAM slots available on your motherboard. Take out the RAM sticks and install them in the vacant slots. Turn on your computer and see if this helps in booting your new PC successfully.
Sometimes, incompatible RAM modules could result in no display or frequent beeps at system startup. Make sure you are using the compatible RAM type for your motherboard.
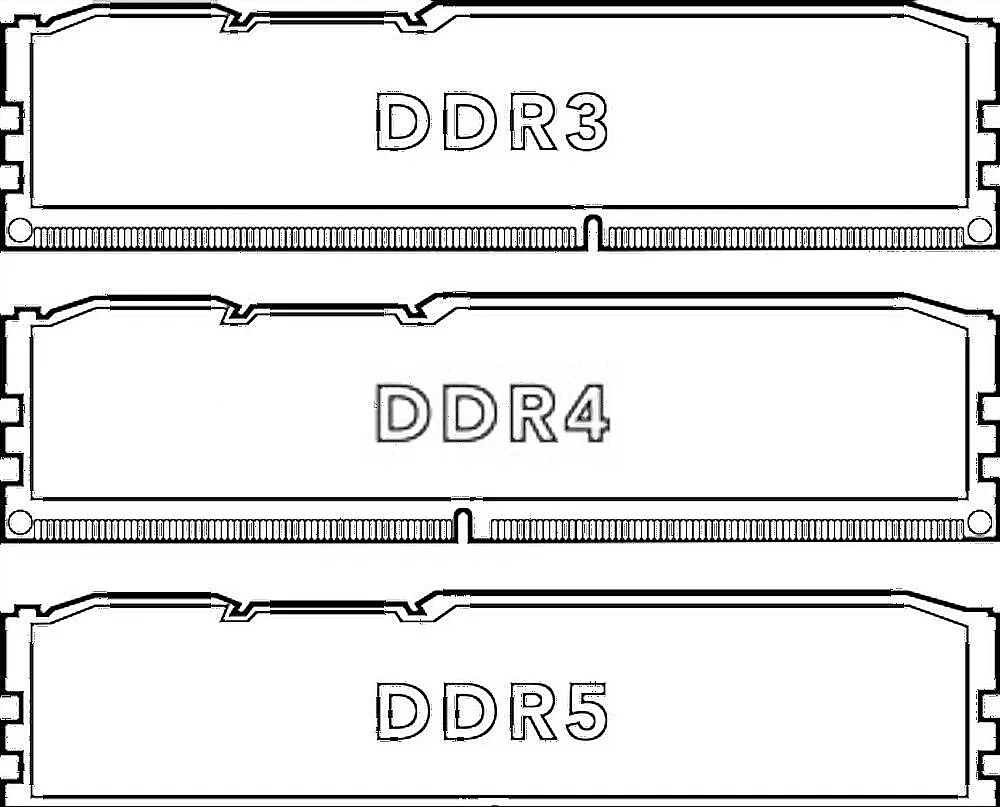
It’s not possible to run a DDR4 RAM module on a DDR3-supported motherboard. So, if you are using RAM sticks from an old system on your newly built system, then make sure those RAM modules are fully supported by your motherboard.
We’ve written a detailed guide on how to choose RAM for your Gaming PC, don’t forget to read that if you have enough time.
Replacing CMOS Battery
CMOS battery or BIOS battery is responsible for powering your CMOS or BIOS chip on your motherboard. The BIOS chips contain all the information about the hardware configuration, time, date, etc.
If the CMOS battery is not functioning properly or is dead, it can prevent the computer from booting properly. In some cases, you can even end up having no display screen if there’s something wrong with your CMOS battery.

If that’s the case, then take out the old CMOS battery and replace it with the new one. Hopefully, this will fix the no-display issue on your new PC, if the cause was an old or dead CMOS battery.
CPU Not Seated Properly
This has happened to me several times while building a new PC from scratch. The CPU should rest properly into the main socket or else you’ll come up with no display screen as you push the start button.

When installing a CPU into the socket, always match the notch marked on the CPU with the notch on the motherboard. Don’t apply too much pressure while seating the CPU or you may end up bending the CPU pins, and in some cases, you may even brick your motherboard.
Checkout Integrate Graphics Card Settings
For instance, if you are getting a display with an integrated graphics card (graphics cards soldered on your motherboard) and just have no display issues with a dedicated graphics card, then you’ll have to disable the iGPU.
Some motherboards are designed to prefer integrated graphics output over dedicated graphics output. In that case, you’ll have to disable the integrated graphics card first in order to use the dedicated graphics card.
You can toggle on/off your integrated graphics card setting by heading into the BIOS. Make sure your monitor is connected to the integrated graphics card output when you head into the BIOS.
Incompatible Hardware
For a PC run to properly, every piece of hardware needs to be compatible. For example, installing a processor that is not compatible with your motherboard can result in a black screen or constant beeps at the startup.
You can visit the manufacturer’s website to know about the compatibility of your hardware with the rest of the system. Sometimes, hardware can easily connect with the rest of your system, but this doesn’t mean that it will power up and function properly.
Incompatibility issues happen quite often when you don’t have enough knowledge about PC building.
Check Your Power Supply
Maybe you have opted for power-hungry PC hardware to build your new PC, but at the same time, you have forgotten to invest in a reliable power supply unit.
The power supply is the powerhouse of your whole system. It provides the right amount of power to your motherboard, graphics card, CPU, and storage devices.
It’s important to calculate the amount of power that your PC would draw out of your PSU to run properly.
If the power draw is more than what your current power supply can provide, then you’ll most likely come up with no display screen or frequent system restarts.
We’ve written a complete guide on how many watts of power supply you need for a gaming PC.
Disassembling Hardware
This is my favorite method to diagnose a PC that is showing a black screen as soon as you boot it up. Most of the time, it’s just a single device that is preventing the display screen from popping up.
It’s more likely reversing your PC to the point where you started building it up.
Here are the steps that I follow when disassembling a PC for troubleshooting. I follow a single step at a time and then restart my PC to see if that changes anything.
- If you are using two or more RAM sticks, remove one at a time to see how your system responds.
- Removing storage devices
- removing any DVD ROM, sound card, and related peripherals
- removing the dedicated graphics card and connecting the monitor cable to the integrated graphics port
- Reseating the CPU cooler
- Reseating the CPU itself
- Removing the CMOS battery
Remove each of these parts once at a time to see if your system boosts perfectly without them. If that’s the case, then remove and replace the device that was preventing your new computer build with no display.
Updating BIOS
I’ve listed this as the last step to fix a newly built computer not turning on or with no display. Keep in mind that you should never mess with your BIOS unless you have some basic knowledge of interacting with it.
The reason I want you to update your BIOS is that sometimes your new CPU, GPU, or any other hardware isn’t fully compatible with your motherboard.
And manufacturers what they do is regularly update the firmware or BIOS of a motherboard to enhance the performance and overcome any incompatibility issues.
But before you update your BIOS, always check out whether a component you intend to install on your motherboard is fully compatible with it or not. For example, it would be impossible to install DDR4-supported RAM on a DDR3-enabled motherboard.
Beware
Always back up your personal files on a separate hard drive or USB disk before updating your BIOS. By doing so, you won’t lose your important data if in case you come up with BIOS corruption.
In order to update your BIOS, follow the steps below:
- Search for the latest BIOS version of your motherboard and download it. Every brand of the motherboard has its own unique BIOS version.
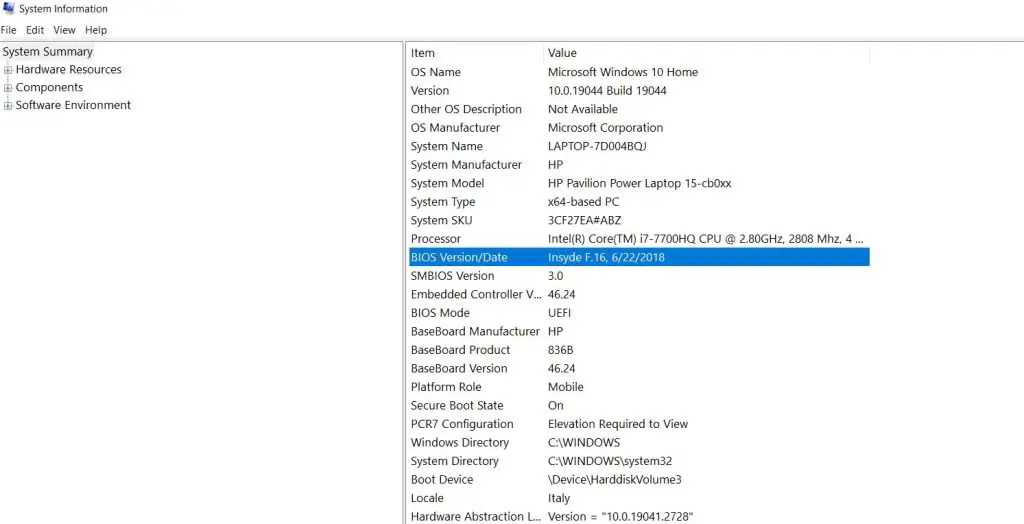
- You can know about your BIOS version by simply searching for “System Information” in the search menu next to the Windows icon at the bottom left corner of your screen.
- Once you have found the current version of your BIOS, it’s time to look for the latest version on your motherboard manufacturer’s website.
- Download the latest BIOS version, and move the files to a USB flash drive. Don’t forget to format the USB first.
- Now restart your PC and head into the BIOS section. Installation of BIOS firmware may vary by manufacturer. Modern motherboards come up with a one-click solution to update your firmware. Also, carefully read the instructions from the manufacturer on how to properly update your BIOS firmware.
Important Note
If you don’t get any display by going through all of the methods that we have listed here, then there might be some issues with your motherboard. Even the new motherboard sometimes comes up with bad capacitors and MOSFETs. If your motherboard comes with a warranty, then you can claim a new motherboard.
FAQ
Why is my new PC build not posting?
When a newly assembled PC fails to post (Power-On Self-Test), there can be several potential reasons behind this issue. Let’s explore some common causes and troubleshooting steps to help identify and resolve the problem:
Hardware Installation and Compatibility:
Check Component Compatibility: Ensure that all hardware components, including the CPU, motherboard, RAM, and graphics card, are compatible with each other and are properly seated in their respective slots. Incompatible or improperly seated hardware can prevent the system from posting.
RAM Configuration:
Verify that the RAM sticks are installed in the correct slots according to the motherboard’s manual and that they are fully inserted. Additionally, some motherboards may require specific configurations for RAM installation, such as using specific slots for optimal compatibility.
Power Supply Unit (PSU):
Confirm that the power supply unit is correctly connected to the motherboard and that all power connectors, including the CPU power connector and the motherboard’s main power connector, are securely plugged in.
Power Switch and Front Panel Connectors:
Ensure that the power switch and front panel connectors from the case are correctly connected to the motherboard’s front panel header, allowing the power button to properly initiate the boot process.
BIOS/UEFI Update:
While less common with new builds, newer motherboards may require a BIOS/UEFI update to support the latest hardware. If applicable, check for BIOS/UEFI updates and follow the manufacturer’s instructions for updating the firmware.
Clear CMOS:
Resetting the motherboard’s CMOS (complementary metal-oxide-semiconductor) settings by either removing the CMOS battery or using a clear CMOS jumper can resolve potential BIOS configuration issues.
Monitor and Cable Connection:
Confirm that the monitor is connected to the graphics card or onboard graphics (if applicable) using a compatible video cable. Sometimes, a loose or faulty display connection can prevent the system from displaying output.
Diagnostic Steps:
Minimal Configuration: Try booting with minimal hardware components installed—CPU, one stick of RAM, and the power supply. This can help isolate and identify potential faulty hardware or compatibility issues.
Speaker/Motherboard Error Codes:
If your motherboard has a speaker for error codes or LED indicators, use those indicators to diagnose any potential hardware issues that prevent the system from posting.
Conclusion New PC Build No Display
Building a new PC from scratch is fun and getting errors like no display screen or beeps is part of the game. But you have to cool your nerves and dig down in finding the root cause of the problem. In most cases, it’s just your RAM, graphics card, or CPU cooler not seated properly on the platform. No screen after building a new PC can be fixed if you follow all the steps that I’ve mentioned in this guide.
Disassembling and reassembling your PC can fix this issue most of the time. I’m positive that this will fix the problem, and if it does, do let me know which method helped you out in this regard. And if you have any working method to share with us, then leave it in the comment section below. Happy PC Building Geeks!

Hi, this is Masab, the Founder of PC Building Lab. I’m a PC enthusiast who loves to share the prior knowledge and experience that I have with computers. Well, troubleshooting computers is in my DNA, what else I could say….